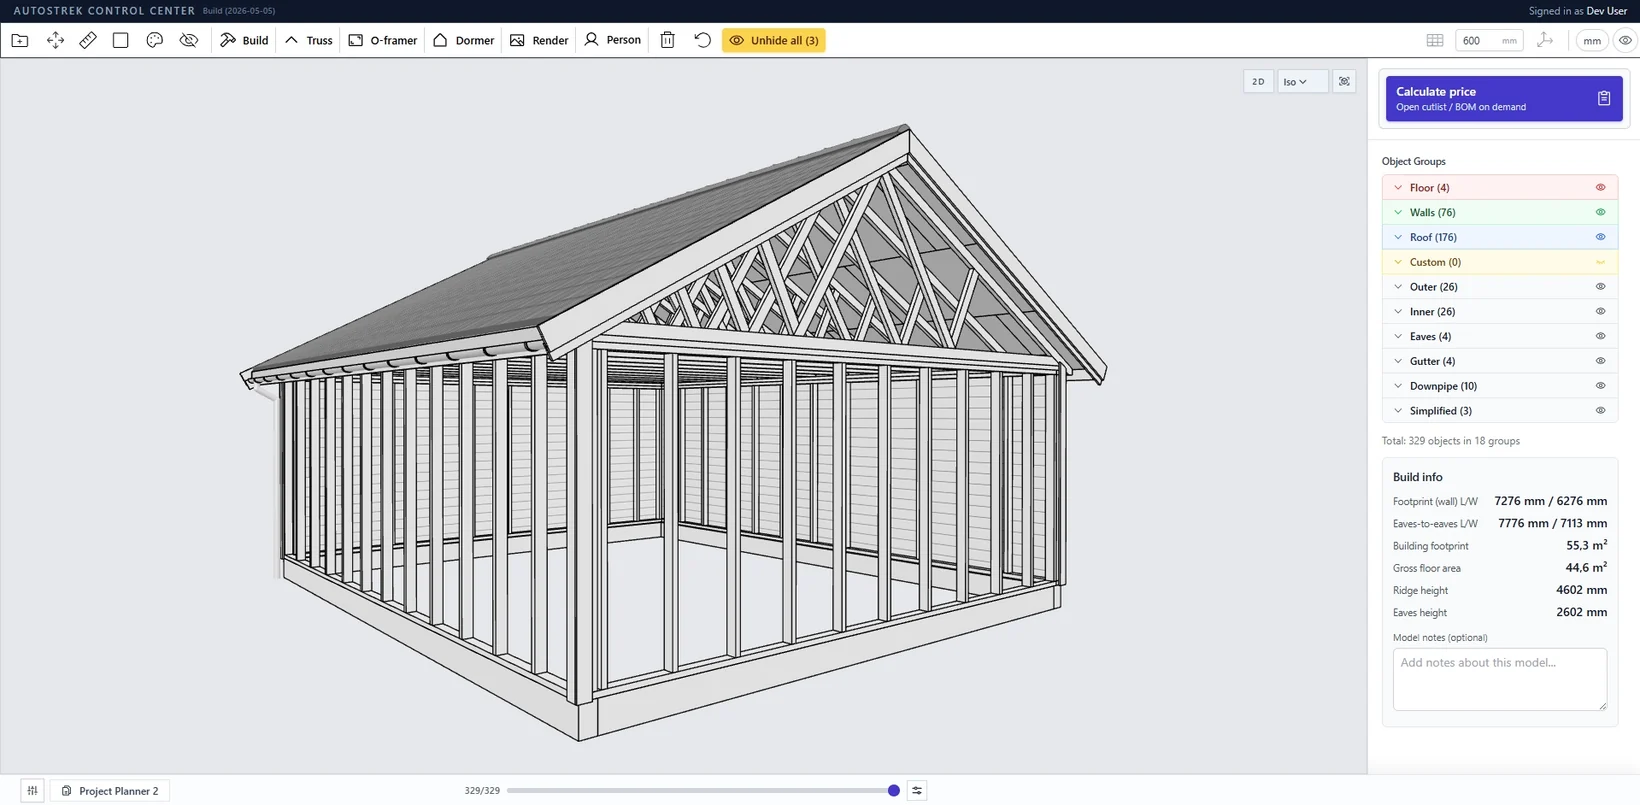
Autostrek’s framing workflow has grown around one central idea: the model should become more useful as the project develops. The latest tools shorten the route to a credible structure, make difficult roof and opening work easier to express, and turn model stages into clearer project documents.
Start with the right structural family
The startup screen now makes it easier to begin with a recognizable building system. Presets for garages, compact cabins, attic-truss houses and skillion-roof structures establish useful defaults without locking the project into a fixed template.
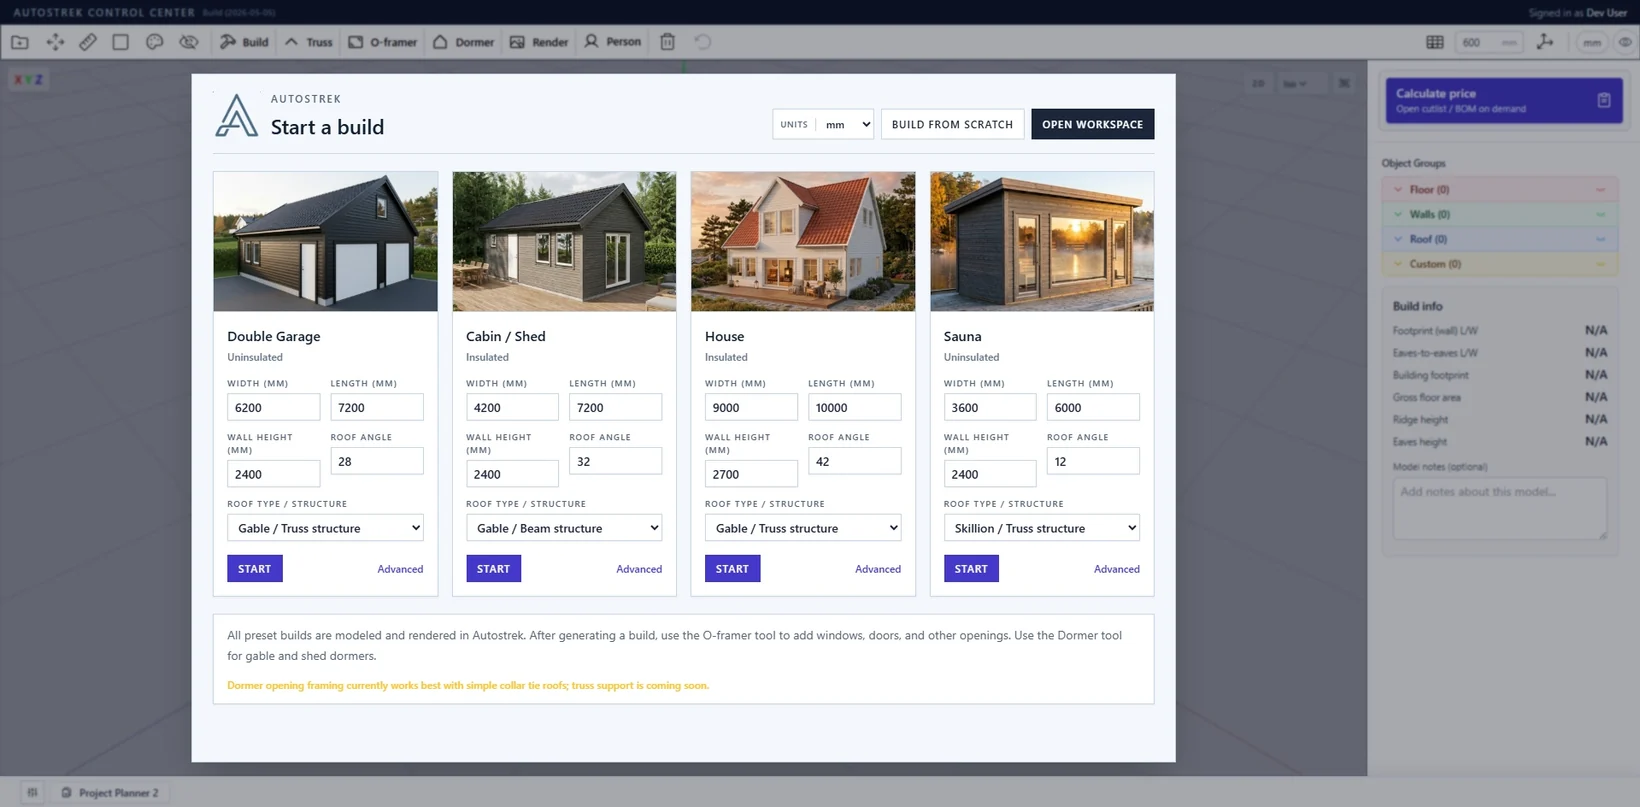
A good preset removes repetitive setup. The important decisions—dimensions, roof form and construction preferences—remain visible before generation.
Develop openings and roof details
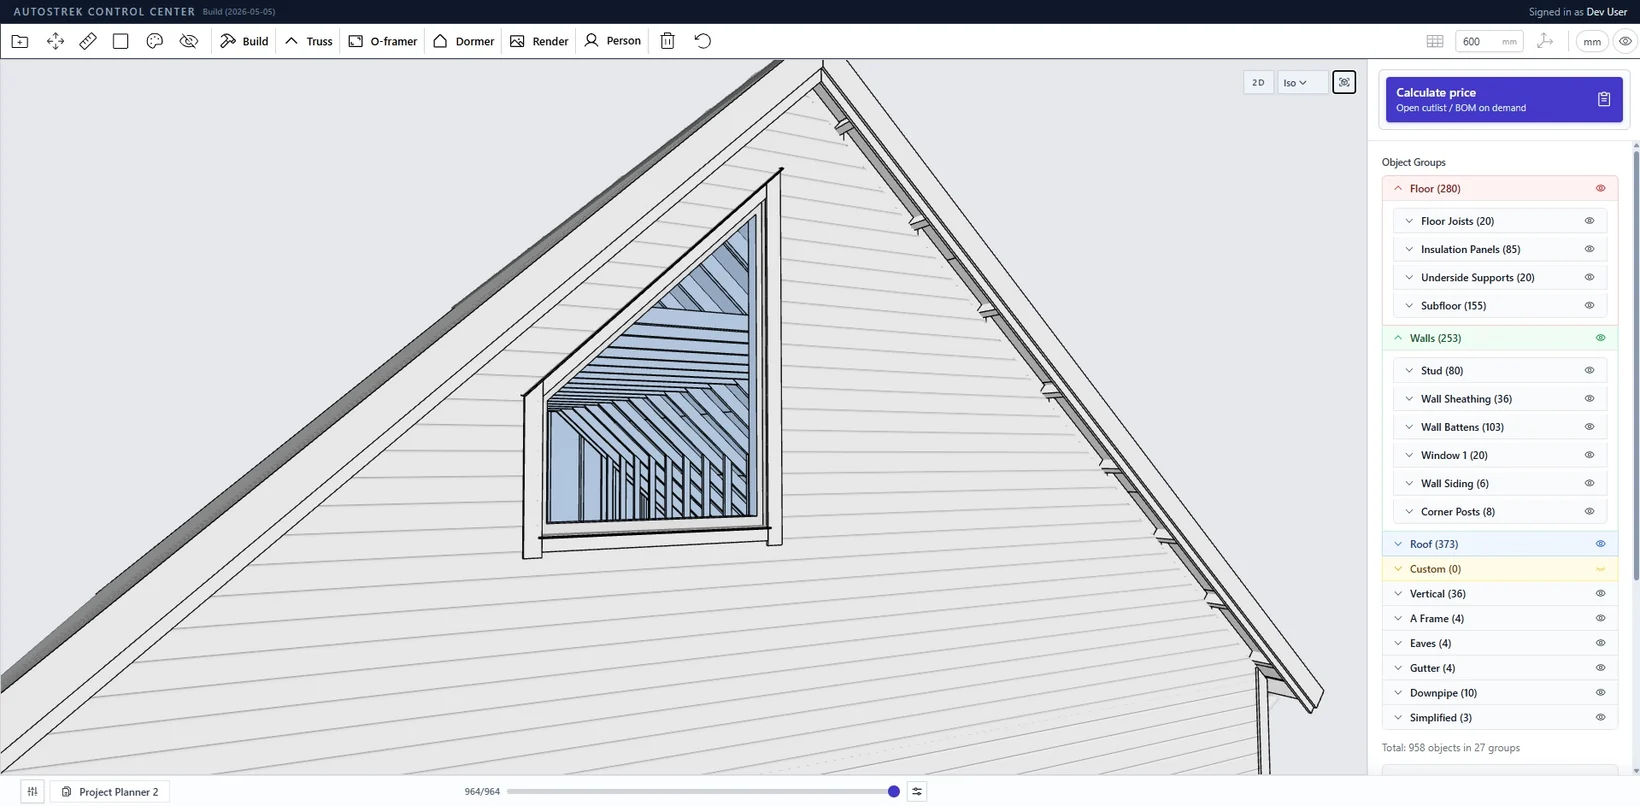
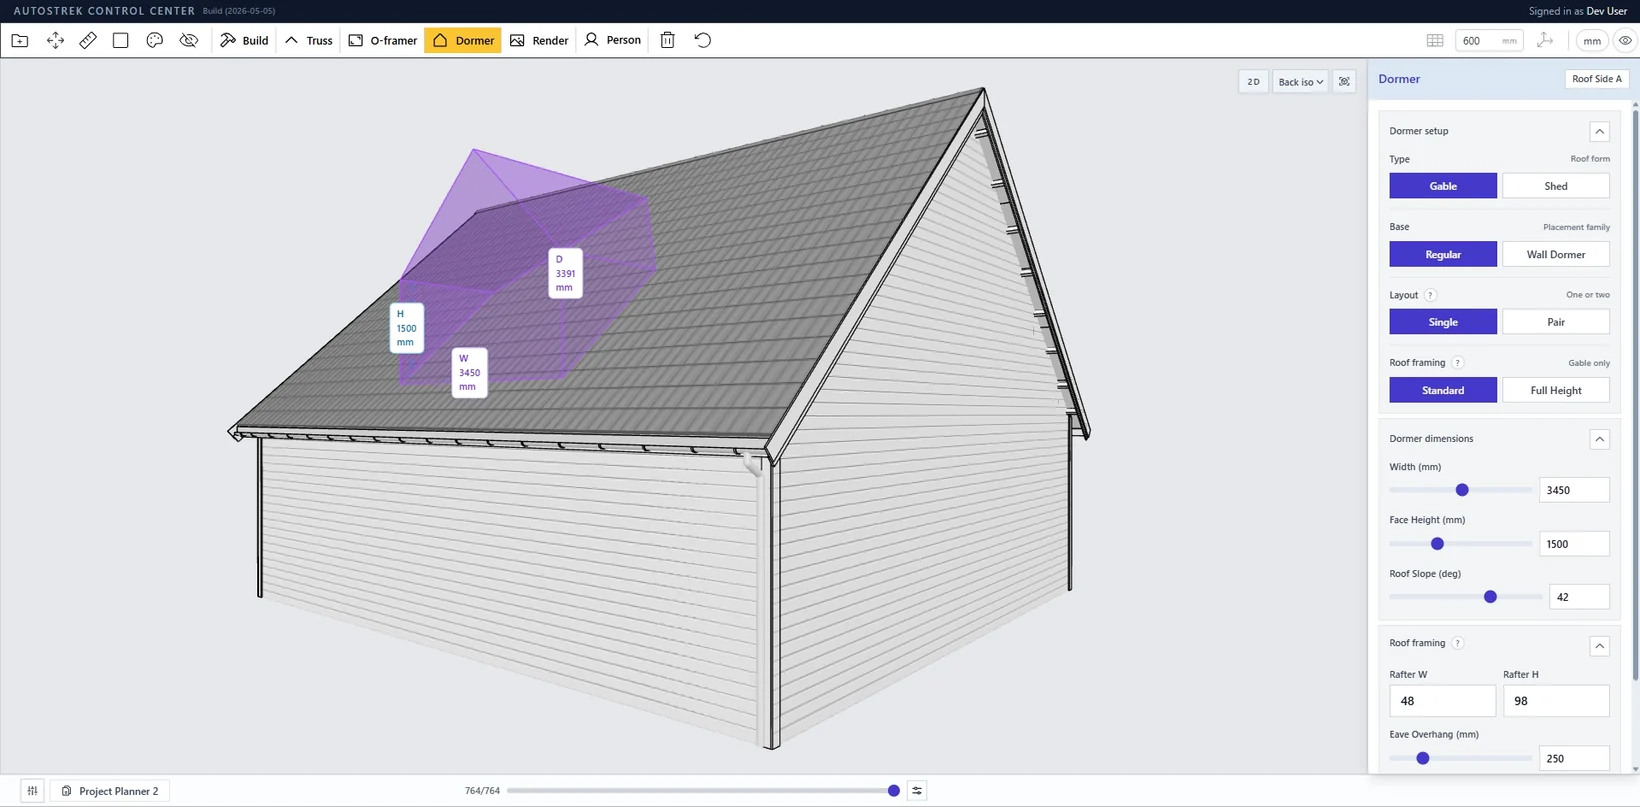
The Opening Framer supports windows, doors, garage openings and upper-gable conditions while keeping the related framing together. Dormer and truss tools continue the same approach: use a focused operation for a recognizable construction task, then inspect the objects it creates.
Measure what the build depends on
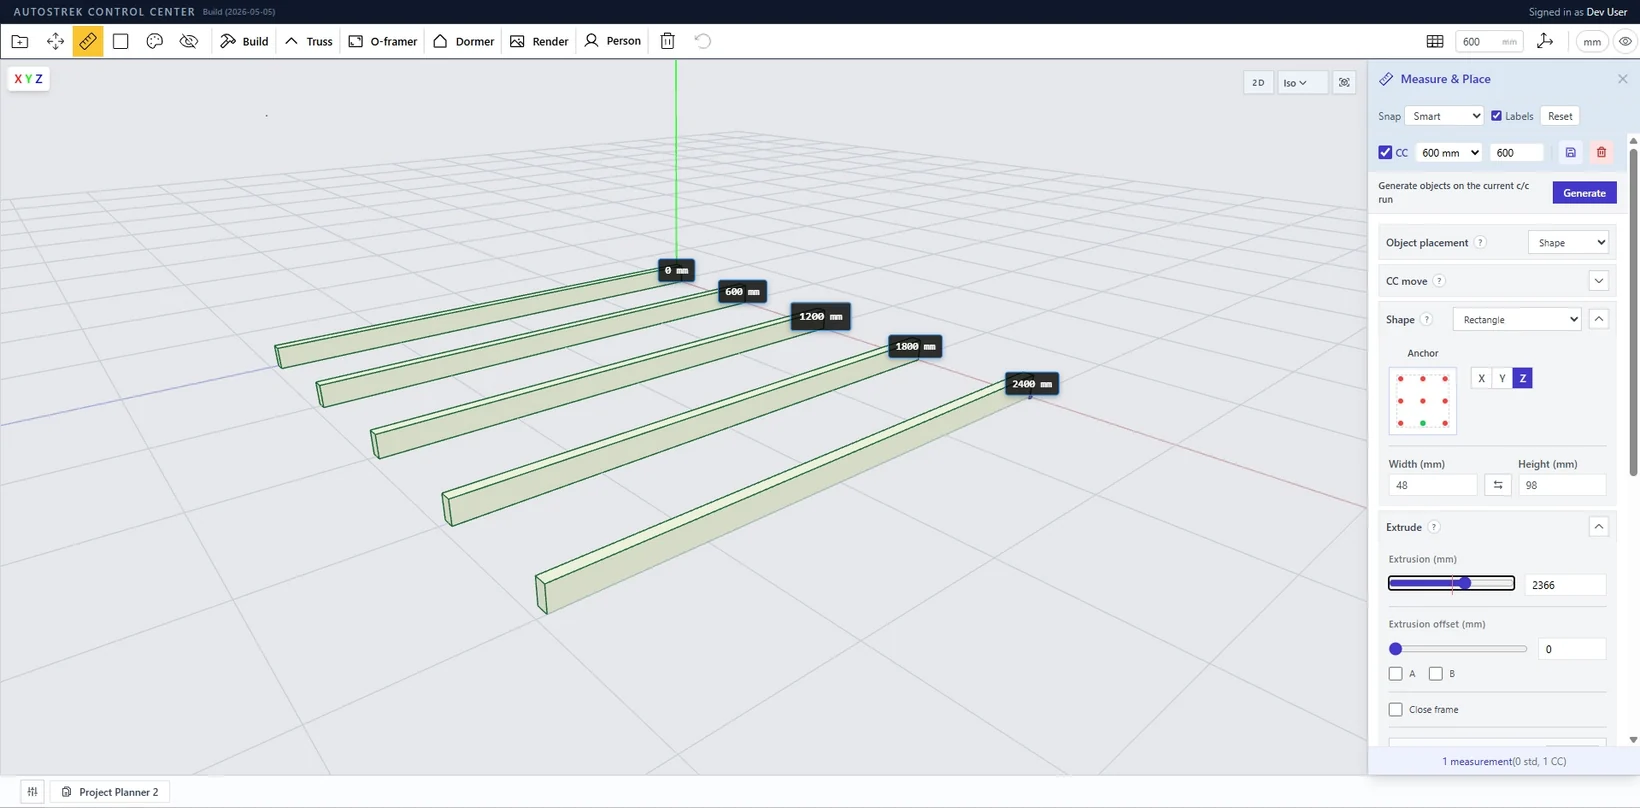
Centre-to-centre measurement makes repeated framing layouts easier to check. Cleaner viewport feedback and direct access to project information reduce the amount of interface work between seeing a problem and understanding it.
Turn model stages into pages
Project Planner 2 uses the construction timeline as a source for printable stages. Choose a point in the build, set the view, add measurements and notes, then organize those moments into a sequence another person can follow.
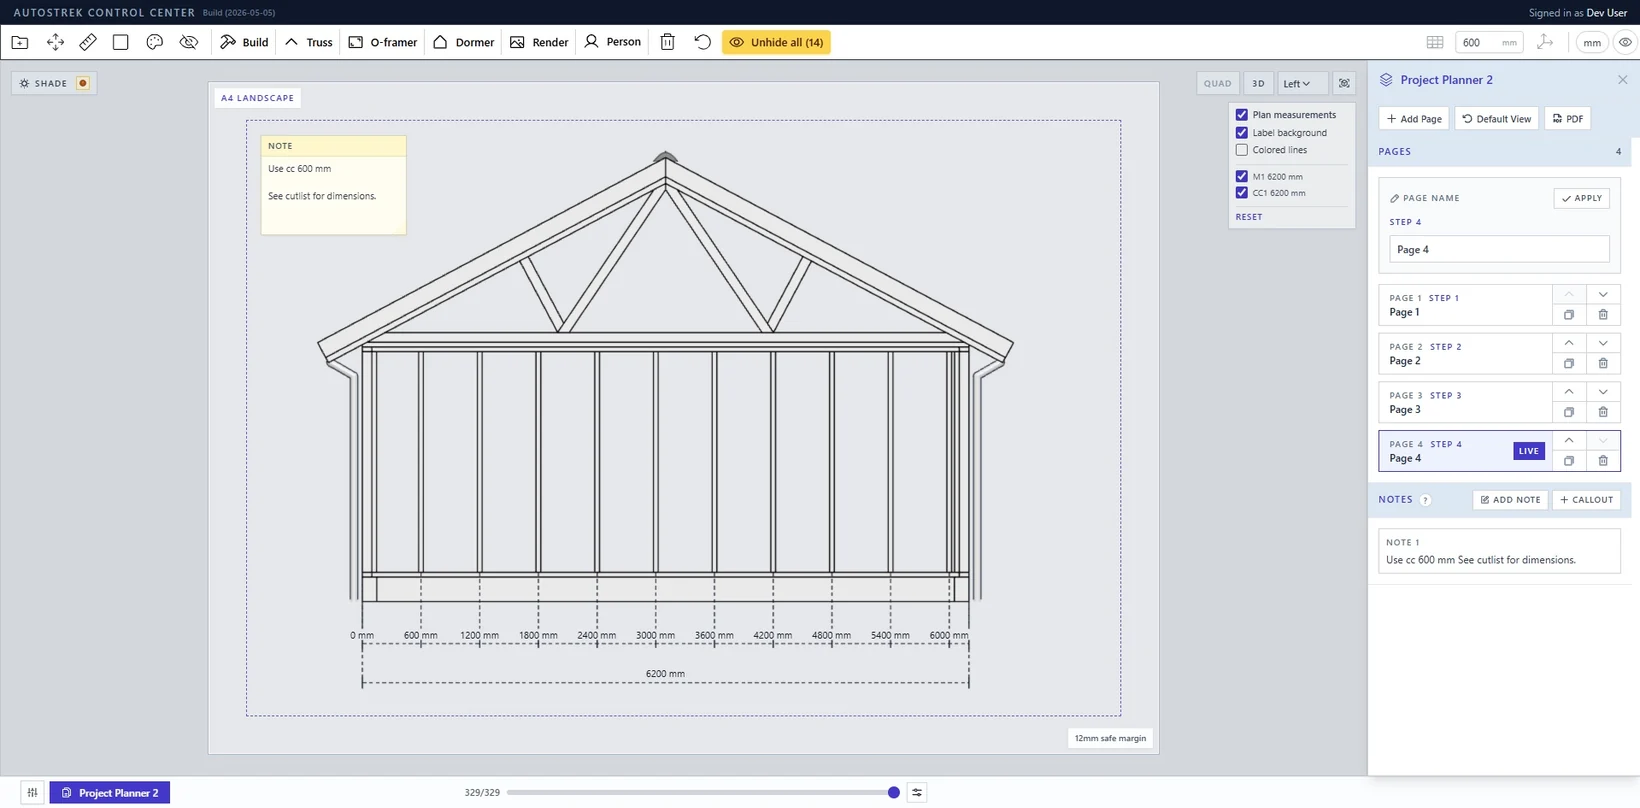
The goal is not to generate more pages. It is to make each page answer a clear question about what should exist at that stage of the project.
Keep the quantities in view
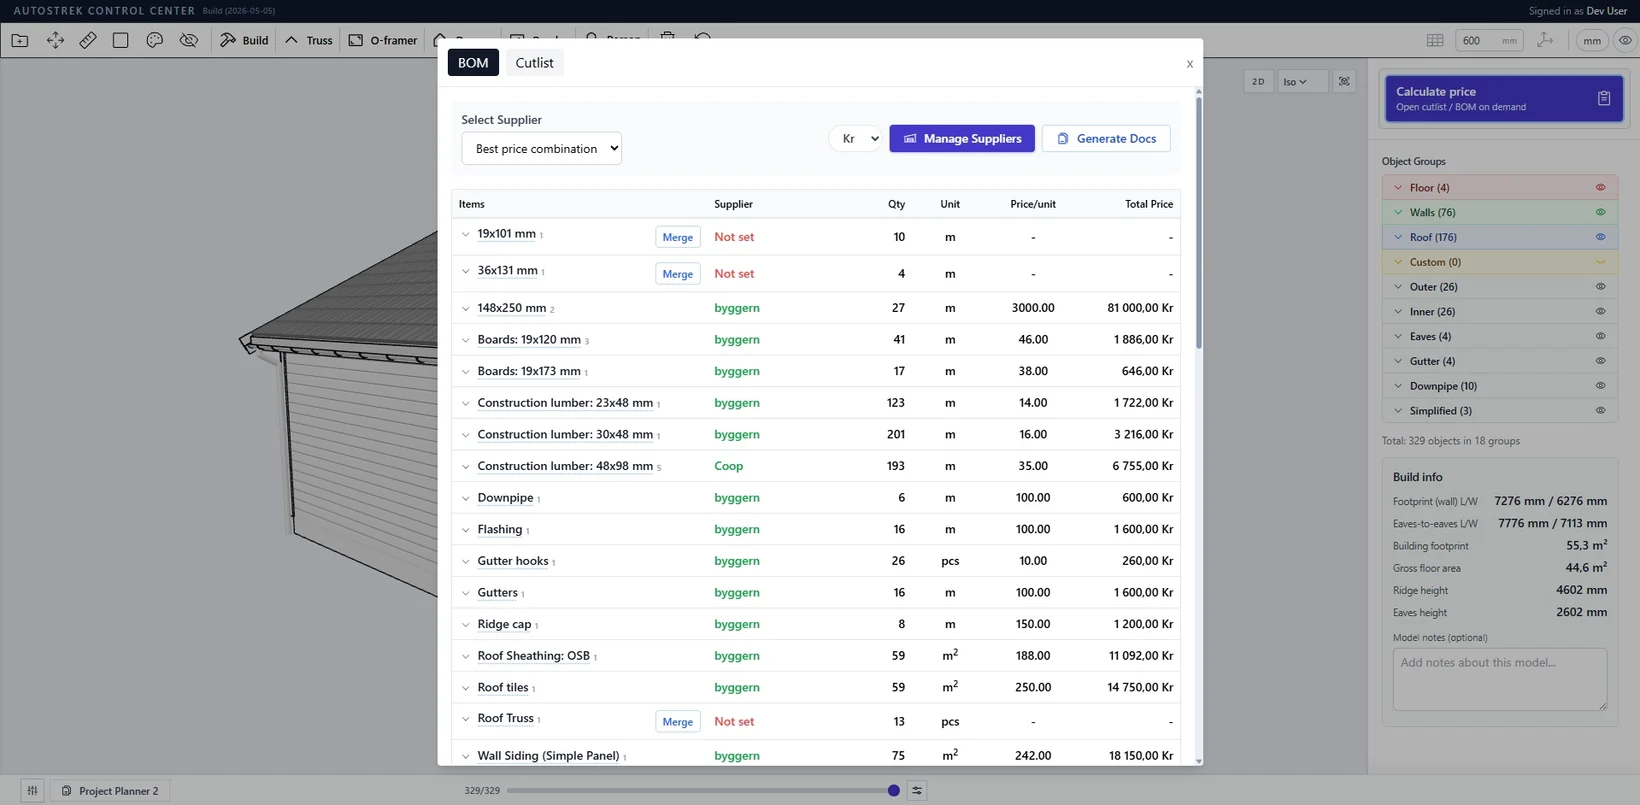
Material and cut information remain connected to the organized model. As the framing develops, the bill of materials offers another way to inspect whether the project contains what you expect.
Together, these improvements make Autostrek feel less like a collection of separate outputs and more like one continuous building workflow.