Recommended test
Build and reopen a small two-storey design with different siding and aligned windows.
- In Building, choose the two-storey house icon and enter Wall height 1 and Wall height 2.
- Open Upper-floor joists, set width, depth, CC and deck thickness, then return to Floor joists.
- Place a window on each floor and drag the upper window until a vertical alignment guide appears.
- Give the upper floor a different siding pattern and choose a Capped separator board.
- Review and build, inspect the floor and openings, then use Wall Control to change only the upper-floor pattern.
- Save and reopen the project; confirm the two heights, floor settings, openings and siding remain.
Build Generator supports one or two storeys in the same design. Both storeys share the building footprint and wall-framing specification; each has its own wall height and opening positions. The roof sits above the upper walls.
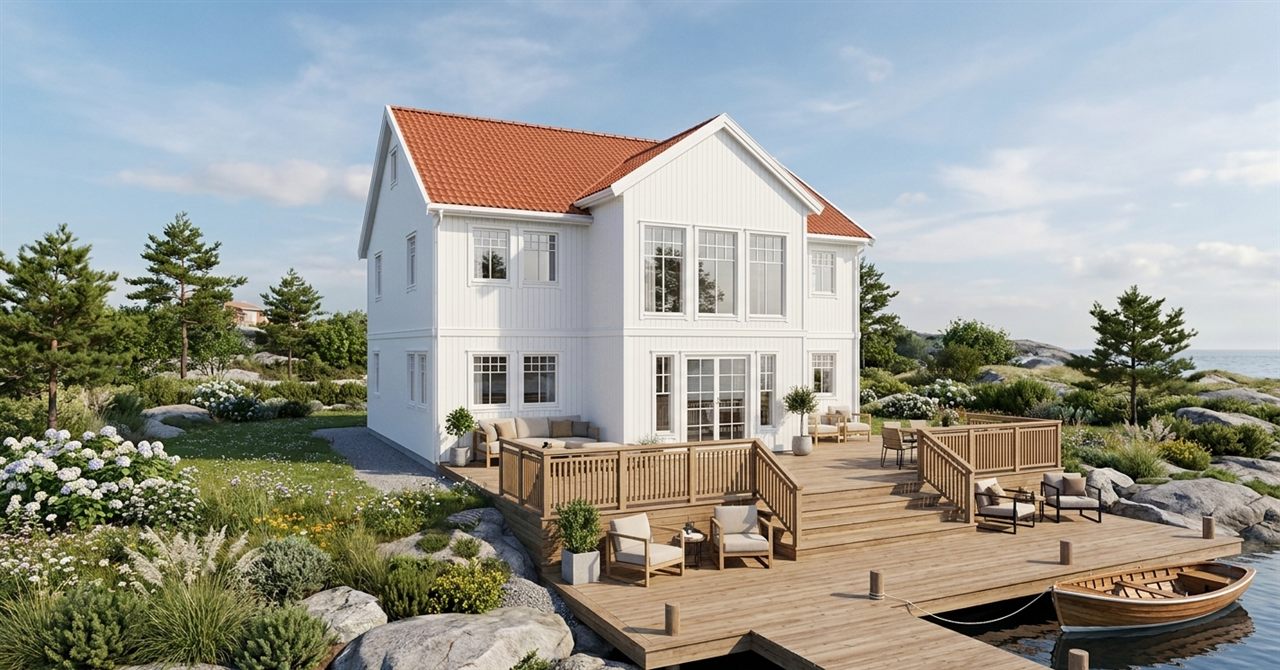
Choose two storeys
Open Build, then use Storeys at the top of the right sidebar in Building mode. The plain house icon selects one storey; the house with a horizontal floor line selects two. Hover or focus the ? before Storeys for height references, dimension guidance and navigation tips.
Set Wall height 1 for the ground floor and Wall height 2 for the upper floor. You can also drag either height in the preview. The upper wall height supports 600–6000 mm, provided the openings still fit. Changing the lower wall height moves the upper floor and roof with it. Changing the upper height leaves the ground-floor height unchanged.
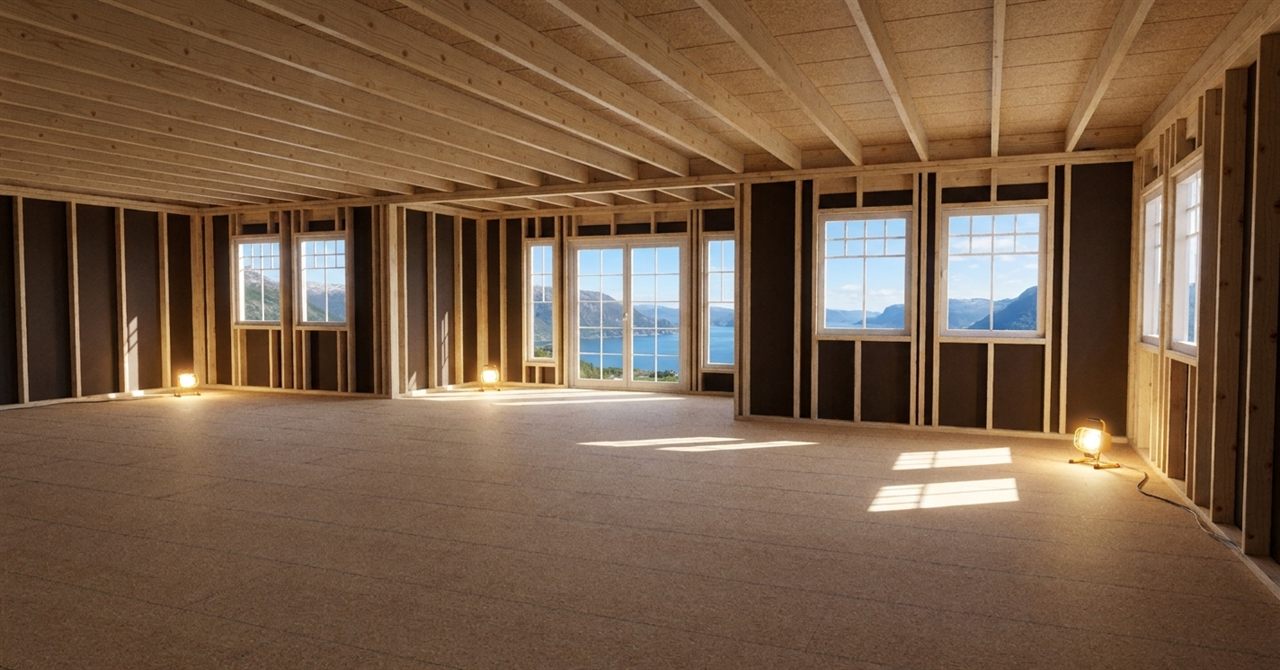
The height inputs describe the walls, excluding the intermediate floor’s thickness. The upper-floor joists bear on the lower top plates, and the upper walls start on the floor deck.
Configure the intermediate floor
The preview’s bottom bar has an Upper-floor joists tab beside Floor joists. It appears only when two storeys are selected. 2nd floor joists: provides adjacent width × depth inputs; CC is the centre-to-centre spacing. Set the deck thickness in its own input. These settings are separate from the ground floor’s joists or foundation.
Place and align openings
In Openings, choose the floor and wall in the Wall selector. Upper-floor sill heights and the upper-floor height guide use the top of that floor’s sheathing. The guide’s settings show its active measurement reference.
Drag a window left or right near an opening above or below it. A vertical guide appears when their left edges, centres or right edges align. Hold Shift to bypass snapping. A subtle dashed connector remains for aligned openings; it does not link them for later edits.
Mirror across centreline is off by default. Enable it for reflected pairs on the same wall. For group changes, use Select openings and drag a selection rectangle. Include matching openings on all walls expands the selection to matching items and sizes, including other storeys. See the visual builder guide for batch edits and copies to opposite or perpendicular walls.
Each opening, including a glazed facade, must fit within one storey. Remove upper-floor main-wall openings before changing back to one storey.
Choose siding and the storey junction
Open Walls → Advanced settings. Siding storey selects Ground floor or Upper floor. The upper floor starts with Same as ground floor enabled. Changing its siding settings creates an independent finish; restore the matching option to use the lower floor’s settings again.
At Storey junction, choose Continuous siding and corner posts or Separator board. A separator interrupts the corner posts at the floor boundary. Choose Flat or Capped, then set its face width (50–500 mm) and thickness (12–60 mm). Face width is the board’s vertical height. The ? before the label explains the reference and when regeneration is needed.
Separator boards follow full-height extensions and use matching mitres at outside and inside corners. After generation, Live Control → Wall Control → Apply to targets Ground floor, Upper floor or All walls for simple-panel pattern, width, visibility and contrast changes. Changing the siding method or separator geometry requires regeneration.
Add dormers or an extension
Dormers attach to the roof above the upper storey. A Building extension in the Dormers tool reaches the ground floor and extends both timber floor levels. The front and sidewalls have top plates at each storey, and the connecting main wall is opened at both levels. Ground- and upper-storey openings receive their storey’s load-bearing header; loft openings above the upper plates keep the regular opening header.
Full-height extensions currently use the upper-storey siding finish over their whole wall. Main-wall openings must stay clear of the extension footprint. The existing gable-roof, sheathing and truss requirements still apply; see building extensions.
Review, build and save
Choose Generate building, resolve any highlighted issues, then Build now. The number inside the building outline shows elapsed seconds. Generate the model to obtain two-storey quantities; Calculation Preview is available only for one-storey designs. Stairs and floor voids are not generated by this feature.
Save the project to retain its design and geometry. Current saves use .strek V15 and need a compatible reader; earlier projects still load. Regeneration replaces the generated model, including manual 3D changes, so use Save project copy when you need to keep the previous version.